Video Pro: plan first, then render
Upload material and one requirement; the AI writes a full video plan with a shot-by-shot storyboard, and you render once it’s right. The first 3 plans each week are free.
Steps
Step 1 of 4
Switch to Pro, upload material
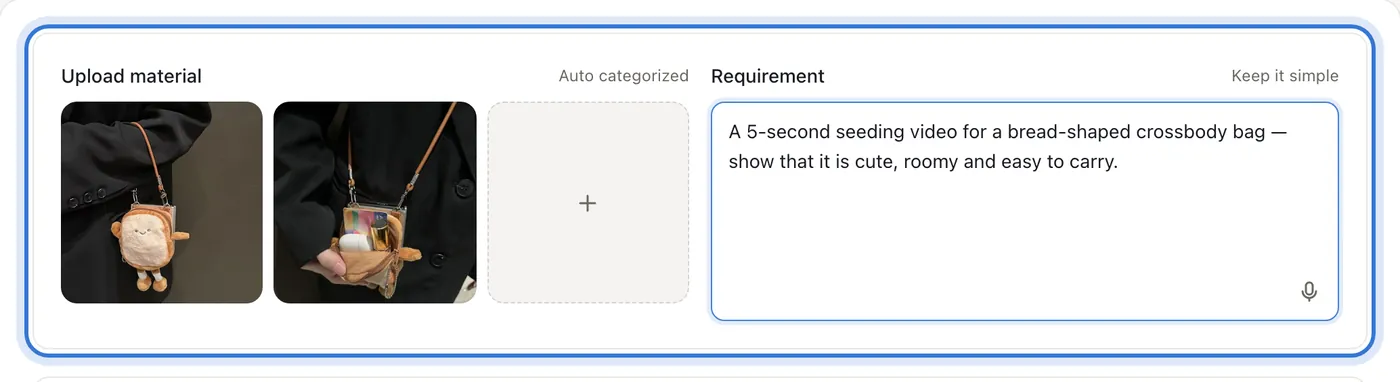
Press “Pro” at the top of Video. Under “Upload material” add product, scene or store images — they are sorted automatically; people, pets and hands can be the subject.
Step 2 of 4
Write the requirement, pick module and approach
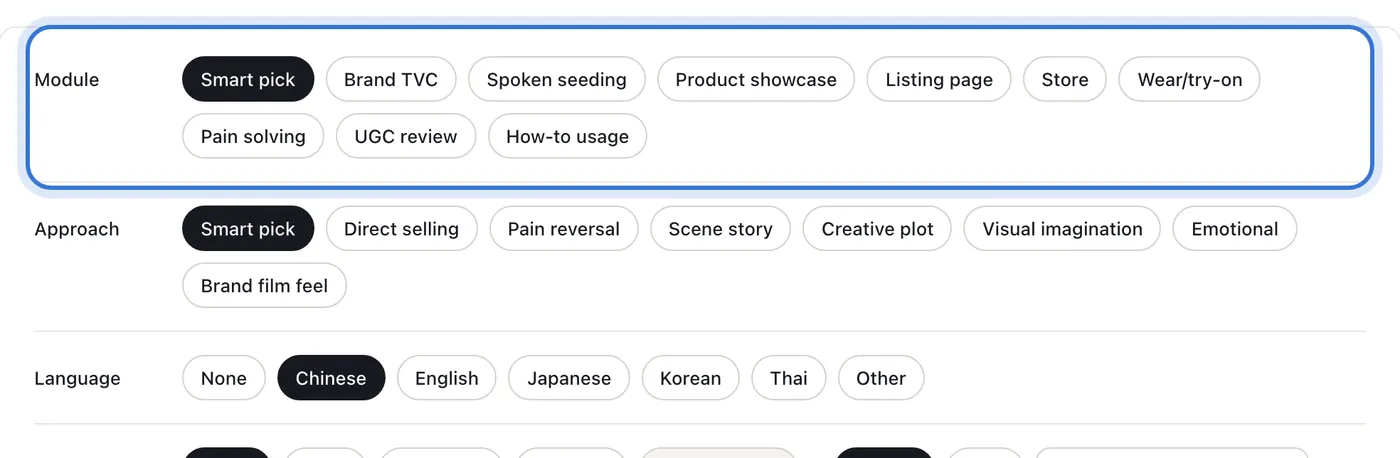
Keep it simple, e.g. “a 5s seeding video for a desk organizer — emphasize a tidy desk and big capacity”. “Module” picks brand TVC, spoken seeding, product showcase and more; “Approach” picks direct selling, pain reversal, scene story… Unsure? Leave “Smart pick”.
Step 3 of 4
Set the subject, look and specs
“Language” sets voice-over or caption language; “Subject” picks an influencer, an amateur, or your own model photo; “Shooting look” picks camera or phone. Duration, ratio and resolution are under “Specs”.
Step 4 of 4
Generate the plan, then the video
Press “Generate plan”; the AI returns a full plan and a shot-by-shot storyboard. Render the video once you’re happy, or change the requirement and try again. The first 3 plans each week are free; after that the page shows the cost.
Step 1 of 4
Click the highlighted area to continue
Related questions
Did this lesson help?