Making detail images
Pick the detail modules you want; the AI writes a plan for each image, you confirm, and the whole set is generated. New accounts get one full page free.
What you bring
The result
Before you start
- A few photos of the same product (front, side, details)
- Selling points and specs: capacity, size, material, power…
- Your marketplace and copy language
Steps
Step 1 of 8
Basic or Pro
“Basic”: write a few lines and each image is planned for you. “Pro” runs your instructions as written, image by image if you like (“image 1 / image 2 …”). Start with Basic.
Step 2 of 8
Upload product images
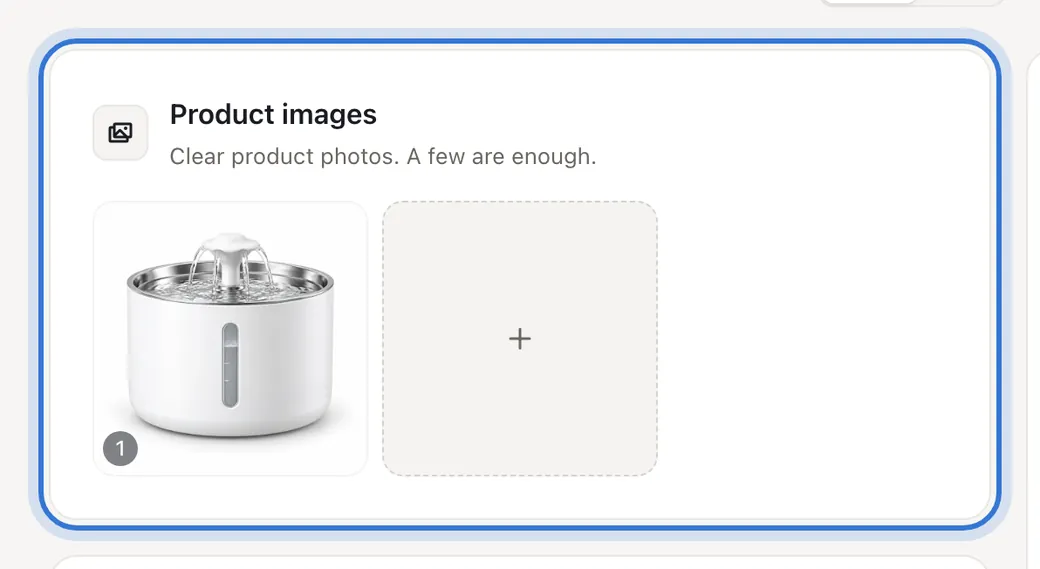
Add them under “Product images”; different angles of the same product work best. More isn’t better — upload only what you need.
Step 3 of 8
Write the requirements
Follow the prompt “My product is …, key selling point is …”, and add where you sell and the copy language. Stuck? “Draft it for me” writes a first version.
TipAny number that must appear — capacity, size, wattage — has to be in the requirements. The AI cannot guess it.
Step 4 of 8
Pick the marketplace, style and language
Under “Marketplace” choose international, domestic or generic and the AI follows that marketplace’s image rules; “Style direction” on “Auto” follows your product and marketplace. The language of the text on the images is “Output language” under “Settings”.
Step 5 of 8
Pick detail page modules
Each module makes one image by default: hero visual, core selling point, usage scene, product detail, size, after-sales guarantee… Pick them in the order your page should read.
Save creditsTry 2–3 key modules first, then add the rest.
Step 6 of 8
Pick a version, create the plan
Pick one “Detail version”: “Practical” is clean and fast; “Cinematic” is more polished. Turn on “Set mode” to keep all images consistent. Then press “Create plan” and the AI writes the visual and copy for each module; the line under the button shows the estimate. On an account that has never purchased, the button reads “Generate detail long page” instead: the first full page is free, with no plan step.
Step 7 of 8
Check the plan, then generate
The “Detail page plan” on the right lists each image; open one to edit its title and description. When it looks right, press “Generate N images”, which shows the credits.
NoteStay on the page while the plan is open and generate right after editing. Your requirements are saved as a draft.
Step 8 of 8
Download, or keep refining
Once images are rendering you can leave; finished images are in History. Each has “Edit” and “Download”; “More” next to “N in this batch” can “Stitch into one image” for a long detail page.
Step 1 of 8

Basic or Pro
Not happy with the result?
- I can’t find “Create plan”
- A new account’s free first page and Pro mode generate directly without a plan — press “Generate detail long page” or Pro’s generate button.
- Numbers or specs are wrong
- Put exact specs in the requirements; fix a single number with “Edit”.
- Images don’t look like one set
- Turn on “Set mode” and generate again.
- The copy is in the wrong language
- Set “Output language”.
Related questions
Did this lesson help?