Getting started
What each tool does, how to make your first image, and where finished images go.
What you bring
The result
Steps
Step 1 of 5
Every tool is in the top bar
For a main image open “Hero images”, for a full set open “Detail images”, to change a picture you already have use “Canvas” or “Retouch”, and for video open “Video”. “Help Center” in the top right always brings you back here, and “How it works” in each tool’s top-right corner opens that tool’s lesson.
Step 2 of 5
Upload one clear product photo
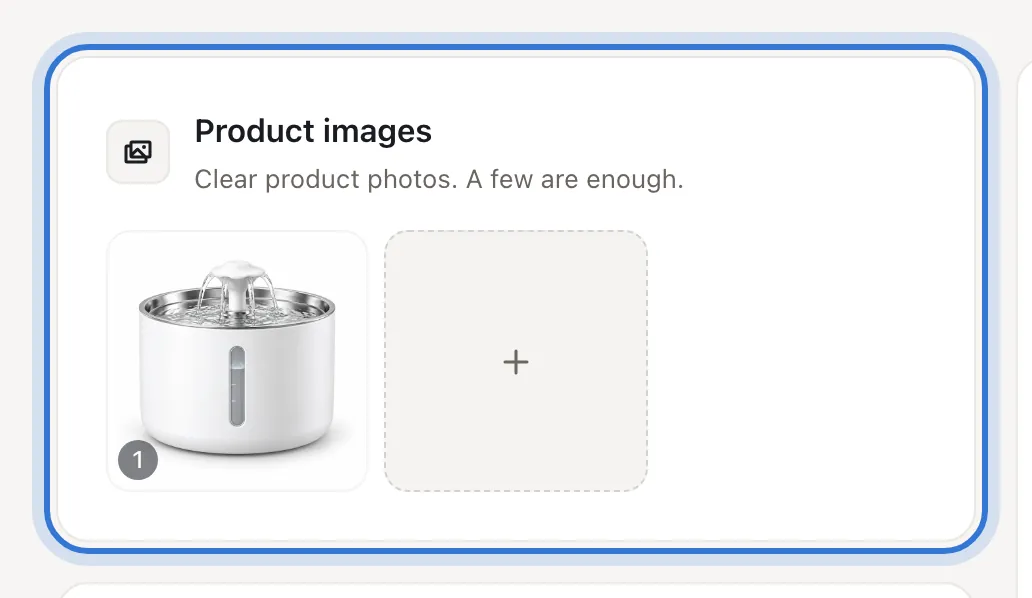
Click or drop images into “Product images”. Two or three angles of the same product are plenty. Anything you uploaded before is one click away under “Recent uploads”.
TipThe whole product, bright light and a plain background give the most reliable results.
Step 3 of 5
Write one line, make one image
In “Requirements”, say what the product is, the selling point and the marketplace; type any headline you want on the image word for word — or press the mic in the field’s corner and say it. Keep the default model, quality and resolution — the line under the generate button says “About N credits”.
Save creditsOne image to check the direction is far cheaper than eight you have to redo.
Step 4 of 5
Download, or fix just that image
Every image has “Edit” and “Download”. Happy? Press “Download”. If one detail is off, press “Edit”: the image opens on the Canvas, you say what to change, and the rest stays as it is.
Step 5 of 5
Everything is saved in History
Click your avatar in the top right and choose “History”. Once rendering starts, refreshing or closing the page loses nothing — finished images are saved there automatically.
Step 1 of 5

Click the highlighted area to continue
Related questions
Did this lesson help?