Making hero images
Upload product photos, write your requirements, pick modules, and get a set of hero images with copy.
What you bring
The result
Before you start
- A few clear product photos (phone photos are fine)
- One or two selling points, e.g. “whisper-quiet, flowing water”
- Where you sell: Amazon, TikTok Shop, Shopify…
Steps
Step 1 of 7
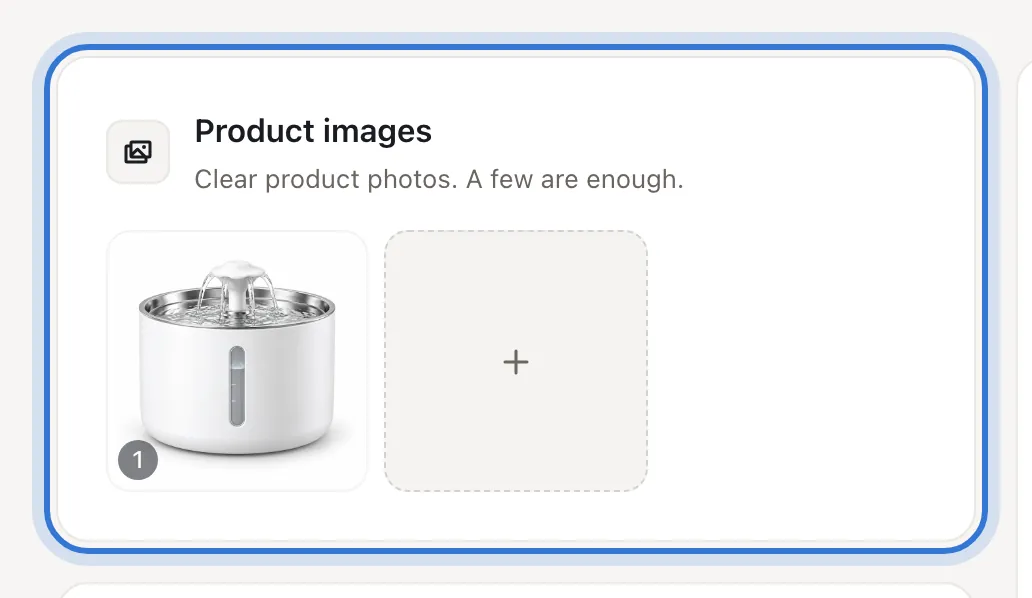
Upload product photos
Click or drop images into “Product images” — a few angles of the same product are enough. Earlier uploads are one click away under “Recent uploads”; to pick up an unfinished job, press “Restore” next to “Pick up where you left off?” at the top.
Step 2 of 7
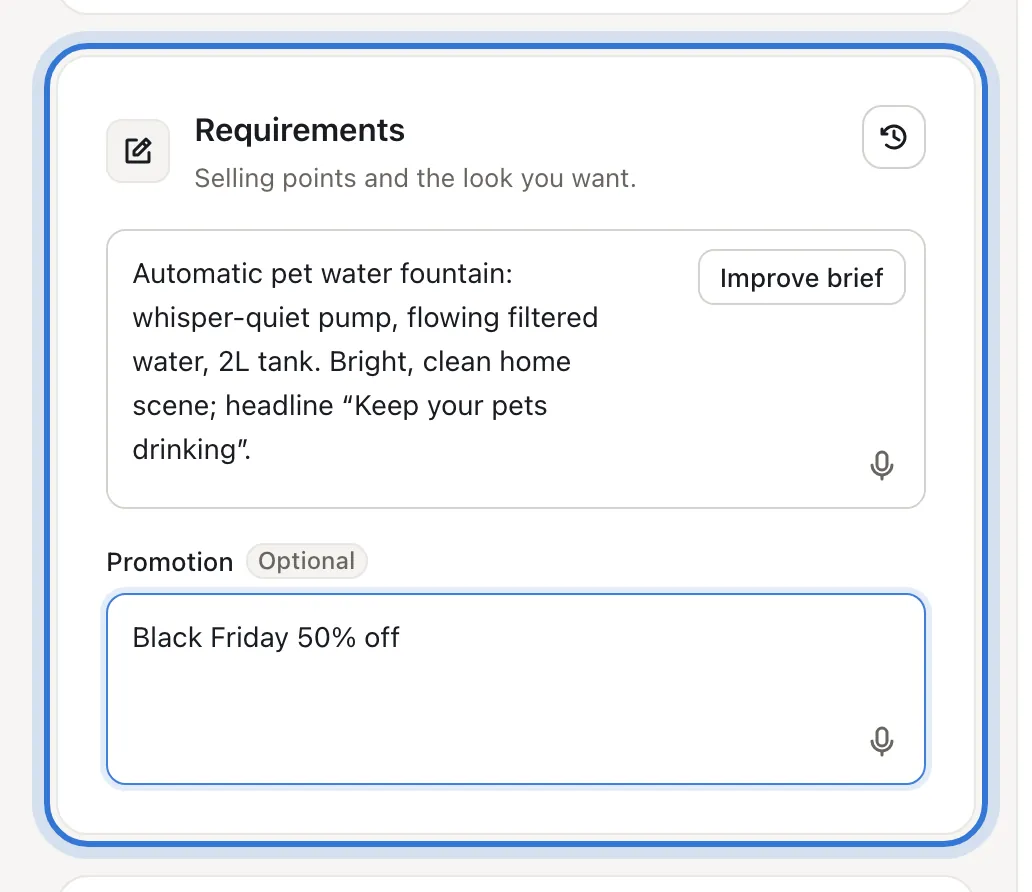
Write the requirements
Say what the product is, the selling point that matters most and the look you want. Put any sale in “Promotion”, e.g. “Black Friday 50% off”. Stuck? With the box empty, “Draft it for me” writes a first version from your product photo; once there is text, “Improve brief” tidies it up. Both are free. You can also press the mic in the field’s bottom-right corner (voice input), speak, and press “Done” — the words land in the field for you to edit.
TipType the exact headline you want on the image, e.g. “Keep your pets drinking”.
Step 3 of 7
Choose language, model and resolution
Under “Settings”: keep the default “GPT Image 2.5 Flare · Light”; Amazon main images are usually “1:1 Square”; start at “SD 1K”; “Output language” sets the language of the text on the image.
Save creditsHigher quality and resolution cost more — prices are in “Choosing a model and quality”. Make one image at the default first.
Step 4 of 7
Pick the marketplace and style
Under “Marketplace” choose international or domestic and the AI follows that marketplace’s image rules and usual modules; if unsure, keep “Generic (default)”. “Style direction” is optional: on “Auto” the look follows your product and marketplace.
Step 5 of 7
Choose modules
“Hero visual” is the classic main image; add immersive display, material detail, usage scene and others as needed. A selected module shows “− 1 img +”; press “+” for more images of it.
Save creditsStart with one “Hero visual”; add more once you like it.
Step 6 of 7
Pick a version, check the cost, generate
Pick one “Hero version”: “Practical” is accurate and quick; “Cinematic” has a richer, brand-led look. “About N credits” under the button is what this run costs — then press “Generate”.
Step 7 of 7
Download, or keep refining
After “Generate”, a placeholder for each module appears on the right with the expected wait. For the first fifteen seconds or so Shopix uploads your photos and writes the prompts, so keep the page open; after that you can leave and the images land in History. Each image has “Edit”, “Download” and zoom; the small arrow next to “Download” offers original format, JPG, PNG or WebP, and “Download all” above the grid gets the whole batch.
Step 1 of 7
Click the highlighted area to continue
Not happy with the result?
- The product color, shape or logo changed
- Use a clearer front-on photo; add “keep the product exactly as it is, don’t change colors or logo” to the requirements; choose “Practical”.
- The text is in the wrong language or misspelled
- Set “Output language” and type the exact copy in the requirements; fix a single typo with “Edit”.
- I don’t like the background or scene
- Describe the scene in the requirements, e.g. “light oak table, morning sun”, and generate again.
Related questions
Did this lesson help?